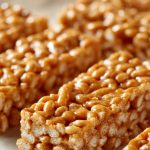
Buckle up, buttercups, because we’re about to dive into the world of no-bake desserts that are as fun to make as they are to eat. These Rice Krispie Peanut Butter Balls are the perfect blend of crunchy and creamy, with a nutty twist that’ll have you coming back for more.
Why This Recipe Works
- No baking required, making it a quick and easy treat for any occasion.
- The combination of peanut butter and Rice Krispies creates a delightful texture contrast.
- Customizable with various coatings and mix-ins to suit any taste preference.
- Perfect for meal prep or as a grab-and-go snack.
- Kid-friendly and great for involving little ones in the kitchen.
Ingredients
- 1 cup creamy peanut butter
- 1/2 cup honey
- 1 tsp vanilla extract
- 2 cups Rice Krispies cereal
- 1/2 cup powdered sugar
- 1 cup chocolate chips (optional, for coating)
- 1 tbsp coconut oil (optional, for thinning chocolate)
Equipment Needed
- Mixing bowl
- Wooden spoon or spatula
- Measuring cups and spoons
- Baking sheet
- Parchment paper
- Microwave-safe bowl (if using chocolate coating)
Instructions
Step 1: Mix the Base Ingredients
In a large mixing bowl, combine the creamy peanut butter, honey, and vanilla extract. Stir until the mixture is smooth and well incorporated. This is the glue that will hold your Rice Krispie balls together, so make sure it’s thoroughly mixed. Tip: If your peanut butter is too thick, warming it slightly can make mixing easier.
Step 2: Add the Dry Ingredients
Gradually add the Rice Krispies cereal and powdered sugar to the peanut butter mixture. Fold them in gently to avoid crushing the cereal too much. You want to maintain that signature crunch. The mixture should be sticky enough to hold together when pressed but not too wet.
Step 3: Form the Balls
Using your hands or a small cookie scoop, form the mixture into 1-inch balls. Place them on a parchment-lined baking sheet as you go. If the mixture sticks to your hands, lightly wet them with water or coat them with a bit of powdered sugar. Tip: For uniform balls, use a measuring spoon to scoop the mixture.
Step 4: Chill to Set
Once all the balls are formed, place the baking sheet in the refrigerator for at least 30 minutes. This will help them firm up and hold their shape better, especially if you plan to coat them in chocolate later.
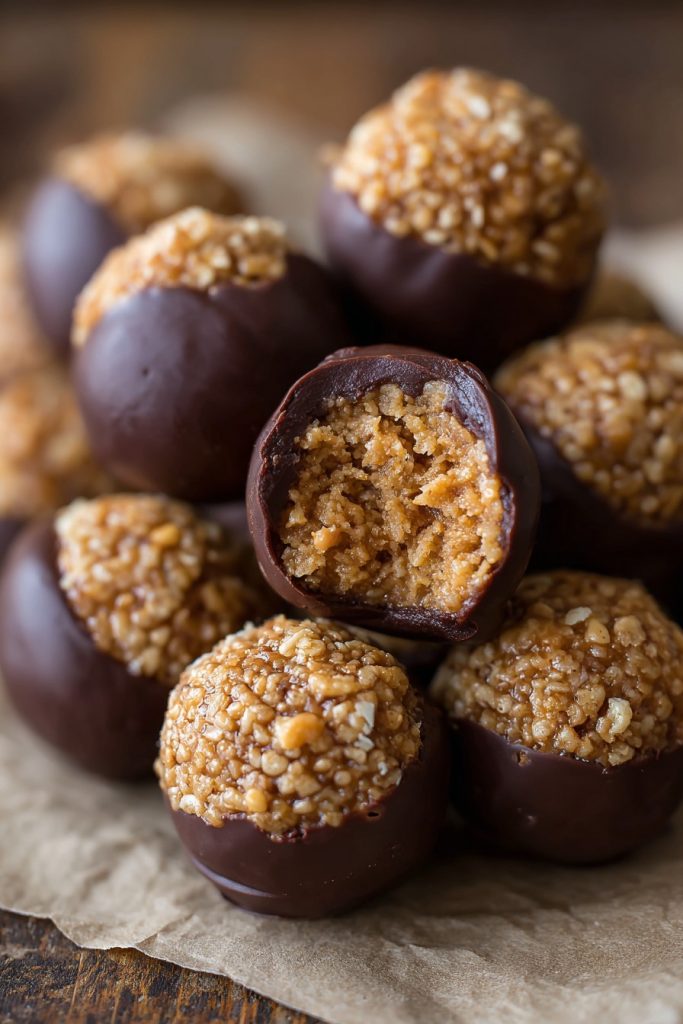
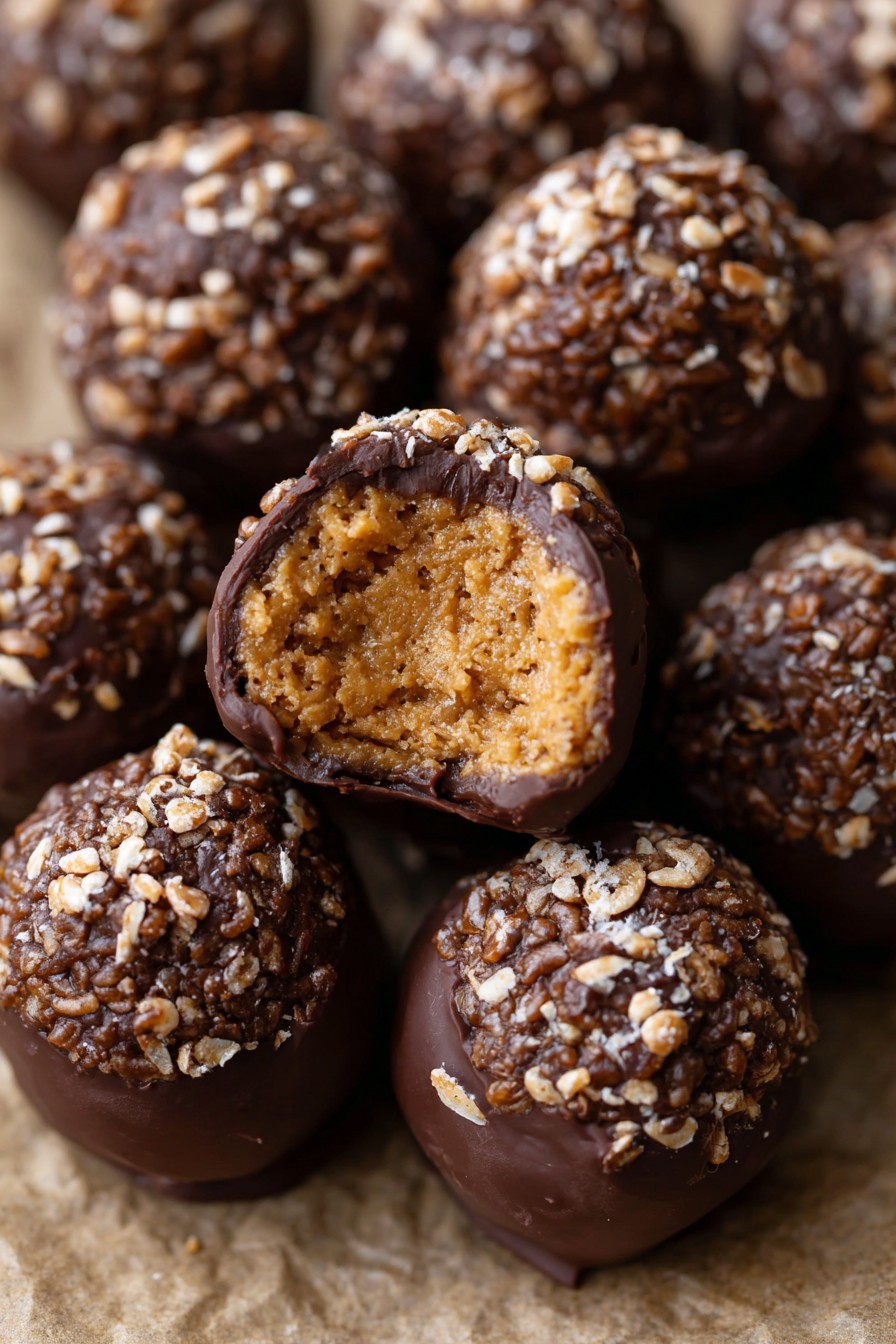
Step 5: Optional Chocolate Coating
If you’re adding a chocolate coating, melt the chocolate chips with coconut oil in a microwave-safe bowl in 30-second intervals, stirring in between until smooth. Dip each chilled ball into the chocolate, then return to the baking sheet. Chill again until the chocolate sets, about 15 minutes.
Tips and Tricks
- For a smoother texture, you can blend the Rice Krispies into a finer crumb before mixing.
- Experiment with different nut butters like almond or cashew for a unique flavor profile.
- Add-ins like mini chocolate chips, crushed nuts, or dried fruit can add extra texture and flavor.
- If the mixture is too dry, a little extra honey or peanut butter can help bind it together.
- For a festive touch, roll the balls in colored sprinkles or crushed candy before the chocolate sets.
Recipe Variations
- Chocolate Peanut Butter Balls: Mix in cocoa powder with the dry ingredients for a chocolatey version.
- Protein-Packed Balls: Add a scoop of your favorite protein powder to the mixture for an energy boost.
- Vegan Version: Use maple syrup instead of honey and vegan chocolate for coating.
- Spicy Kick: A dash of cayenne pepper can add an unexpected but delicious heat.
- Christmas Special: Use red and green sprinkles or crushed peppermint for a holiday-themed treat.
Frequently Asked Questions
Can I use crunchy peanut butter instead of creamy?
Absolutely! Crunchy peanut butter will add an extra layer of texture to your balls. Just keep in mind that the final product will be a bit more rustic in appearance and feel.
How long do these balls last?
Stored in an airtight container in the refrigerator, these balls can last up to a week. If you’ve coated them in chocolate, they might last a bit longer, but let’s be honest, they probably won’t stick around that long.
Can I freeze them?
Yes, these balls freeze beautifully. Just place them in a single layer on a baking sheet to freeze initially, then transfer to a freezer bag. They’ll keep for up to 3 months. Thaw in the fridge before serving.
Summary
These Rice Krispie Peanut Butter Balls are a no-bake, easy-to-make treat that’s perfect for snacking, gifting, or party favors. With endless variations and a foolproof method, they’re sure to become a staple in your recipe repertoire.