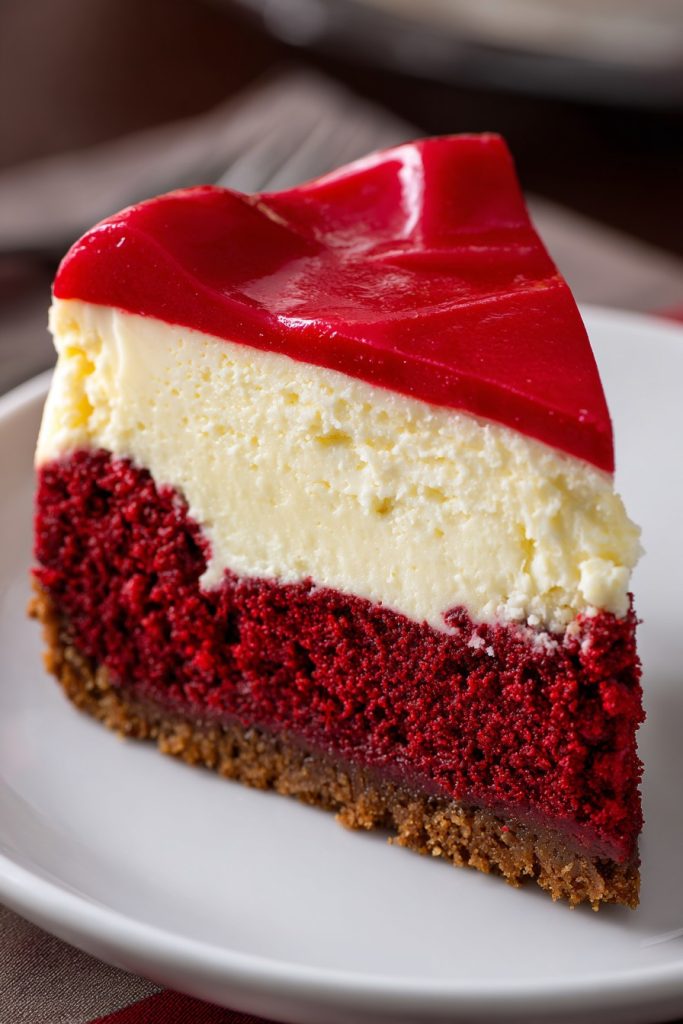
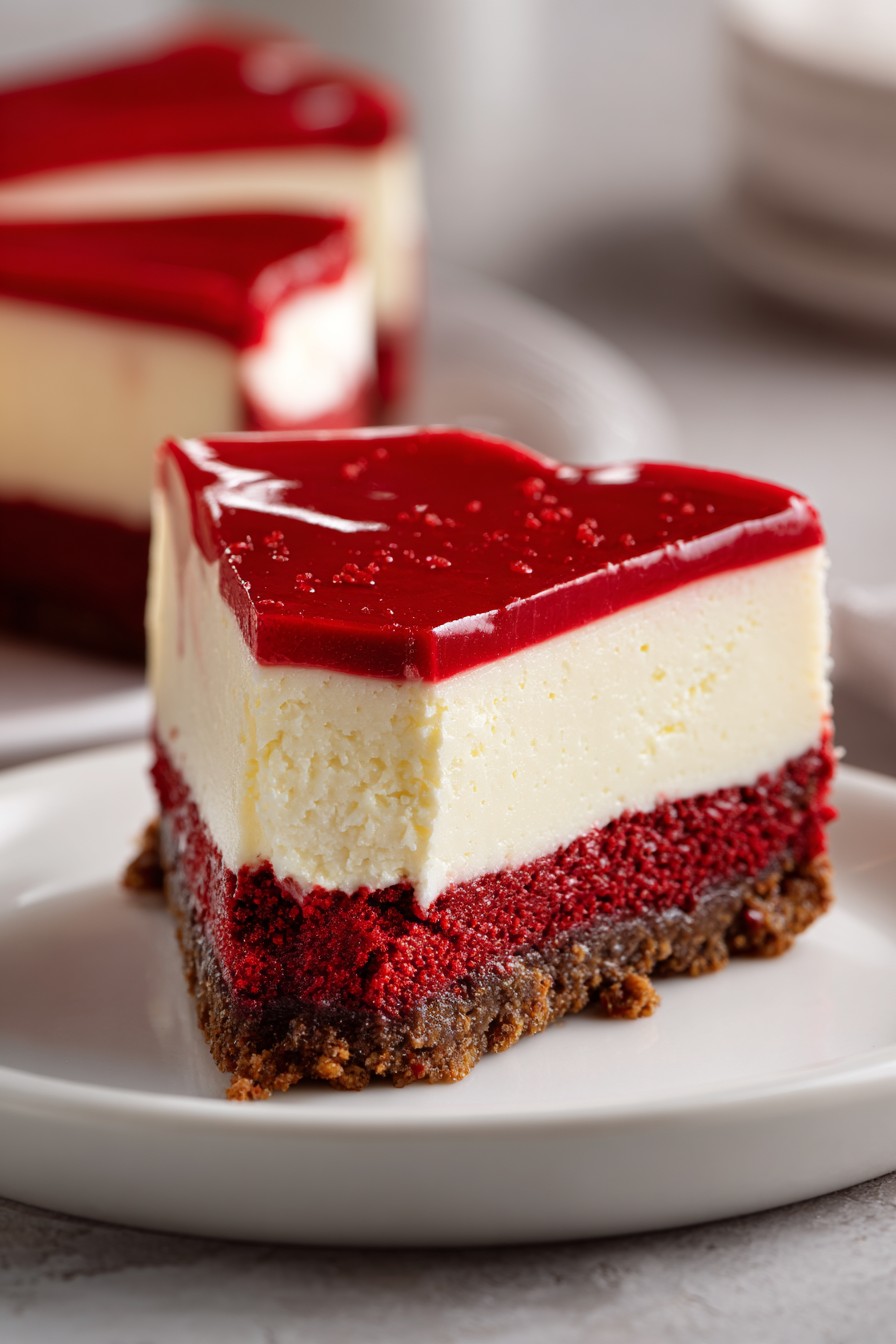
Nothing says ‘I love you’ like a slice of red velvet cheesecake. This decadent dessert combines the rich, velvety texture of cheesecake with the bold, vibrant flavor of red velvet cake. Perfect for special occasions or when you’re just in the mood to treat yourself.
Why This Recipe Works
- The combination of cream cheese and sour cream ensures a creamy, smooth texture that’s irresistibly rich.
- Using buttermilk in the red velvet layer adds a subtle tanginess that balances the sweetness perfectly.
- The contrast between the deep red cake and the white cheesecake creates a stunning visual effect that’s sure to impress.
- This recipe includes a secret ingredient that enhances the red velvet flavor without overpowering it.
- Baking the cheesecake in a water bath prevents cracks, ensuring a flawless finish every time.
Ingredients
- 2 cups graham cracker crumbs
- 1/2 cup unsalted butter, melted
- 3 (8-ounce) packages cream cheese, softened
- 1 cup granulated sugar
- 1 cup sour cream
- 3 large eggs
- 1 teaspoon vanilla extract
- 1 tablespoon cocoa powder
- 1 tablespoon red food coloring
- 1/2 cup buttermilk
Equipment Needed
- 9-inch springform pan
- Mixing bowls
- Electric mixer
- Measuring cups and spoons
- Aluminum foil
- Roasting pan (for water bath)
Instructions
Step 1: Prepare the Crust
Start by mixing the graham cracker crumbs with the melted butter until the mixture resembles wet sand. Press this mixture firmly into the bottom of your springform pan, creating an even layer. Bake at 350°F for 10 minutes, then let it cool. This step ensures your cheesecake has a sturdy, buttery base that complements the creamy filling.
Step 2: Make the Cheesecake Filling
In a large bowl, beat the softened cream cheese and sugar together until smooth. Add the sour cream, eggs, and vanilla extract, mixing well after each addition. Pour half of this mixture over the cooled crust. This layer will serve as the creamy foundation for your red velvet layer.
Step 3: Create the Red Velvet Layer
To the remaining cheesecake mixture, add the cocoa powder, red food coloring, and buttermilk. Mix until the color is uniform and the cocoa is fully incorporated. Carefully pour this over the first cheesecake layer. The buttermilk adds a slight tang that enhances the red velvet flavor, making this layer stand out.
Step 4: Bake the Cheesecake
Wrap the outside of the springform pan with aluminum foil to prevent water from seeping in. Place the pan in a roasting pan and fill the roasting pan with hot water until it reaches halfway up the sides of the springform pan. Bake at 325°F for 60 minutes, then turn off the oven and let the cheesecake sit inside for another hour. This slow cooling process helps prevent cracks.
Step 5: Chill and Serve
After baking, remove the cheesecake from the water bath and let it cool to room temperature. Then, refrigerate it for at least 4 hours, or overnight, before serving. This chilling time allows the flavors to meld and the texture to set perfectly.
Tips and Tricks
For an even more decadent dessert, consider adding a layer of cream cheese frosting on top of the cheesecake before serving. If you’re short on time, you can use a store-bought red velvet cake mix for the red velvet layer, though the flavor won’t be as rich. To ensure your cheesecake doesn’t stick to the pan, run a knife around the edge before releasing the springform. For a smoother texture, make sure all your ingredients are at room temperature before starting. And remember, patience is key—don’t rush the chilling process!
Recipe Variations
- Add a layer of chocolate ganache between the cheesecake and red velvet layers for an extra chocolatey twist.
- Incorporate white chocolate chips into the cheesecake layer for a subtle sweetness and texture contrast.
- Top the cheesecake with fresh berries or a berry compote for a refreshing contrast to the rich flavors.
- Use Oreo cookies instead of graham crackers for the crust for a deeper chocolate flavor.
- Experiment with different food colorings to match the cheesecake to any holiday or event theme.
Frequently Asked Questions
Can I make this recipe without a springform pan?
While a springform pan is ideal for cheesecakes because it allows for easy removal, you can use a regular cake pan in a pinch. Just be sure to line it with parchment paper extending over the sides so you can lift the cheesecake out after chilling.
How do I know when the cheesecake is done baking?
The cheesecake is done when the edges are set but the center still jiggles slightly when the pan is gently shaken. It will continue to set as it cools, so resist the urge to overbake.
Can I freeze red velvet cheesecake?
Yes, red velvet cheesecake freezes beautifully. Wrap it tightly in plastic wrap and then aluminum foil, and it can be stored in the freezer for up to 2 months. Thaw in the refrigerator overnight before serving.
Summary
This red velvet cheesecake is a show-stopping dessert that combines the best of both worlds: the creamy richness of cheesecake with the bold flavor of red velvet cake. With a few simple tips and tricks, you can create a dessert that’s as beautiful as it is delicious.