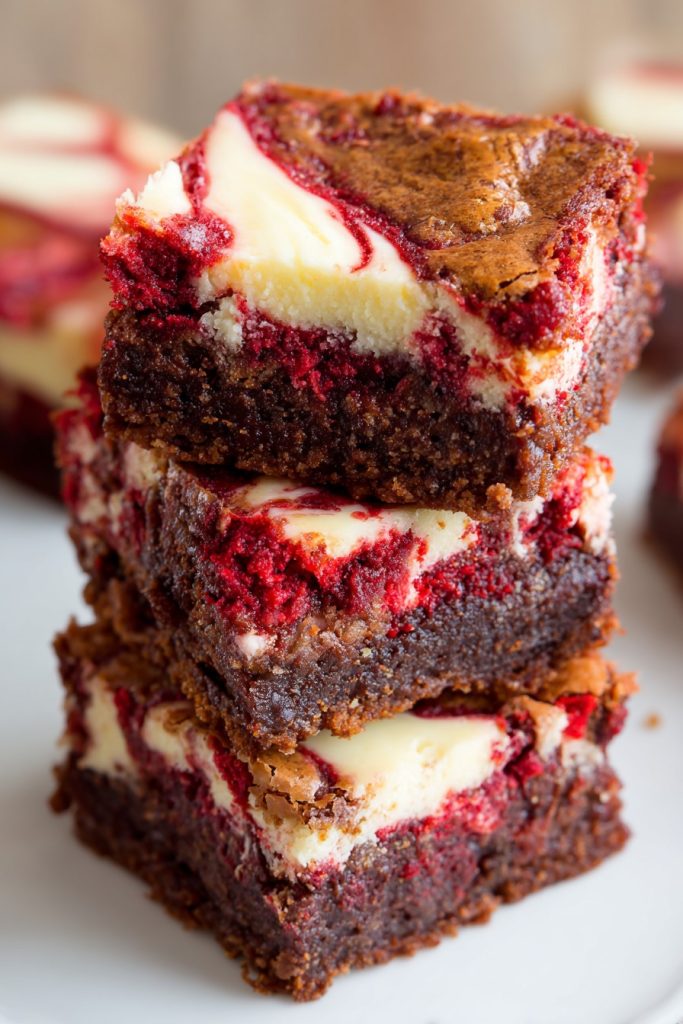
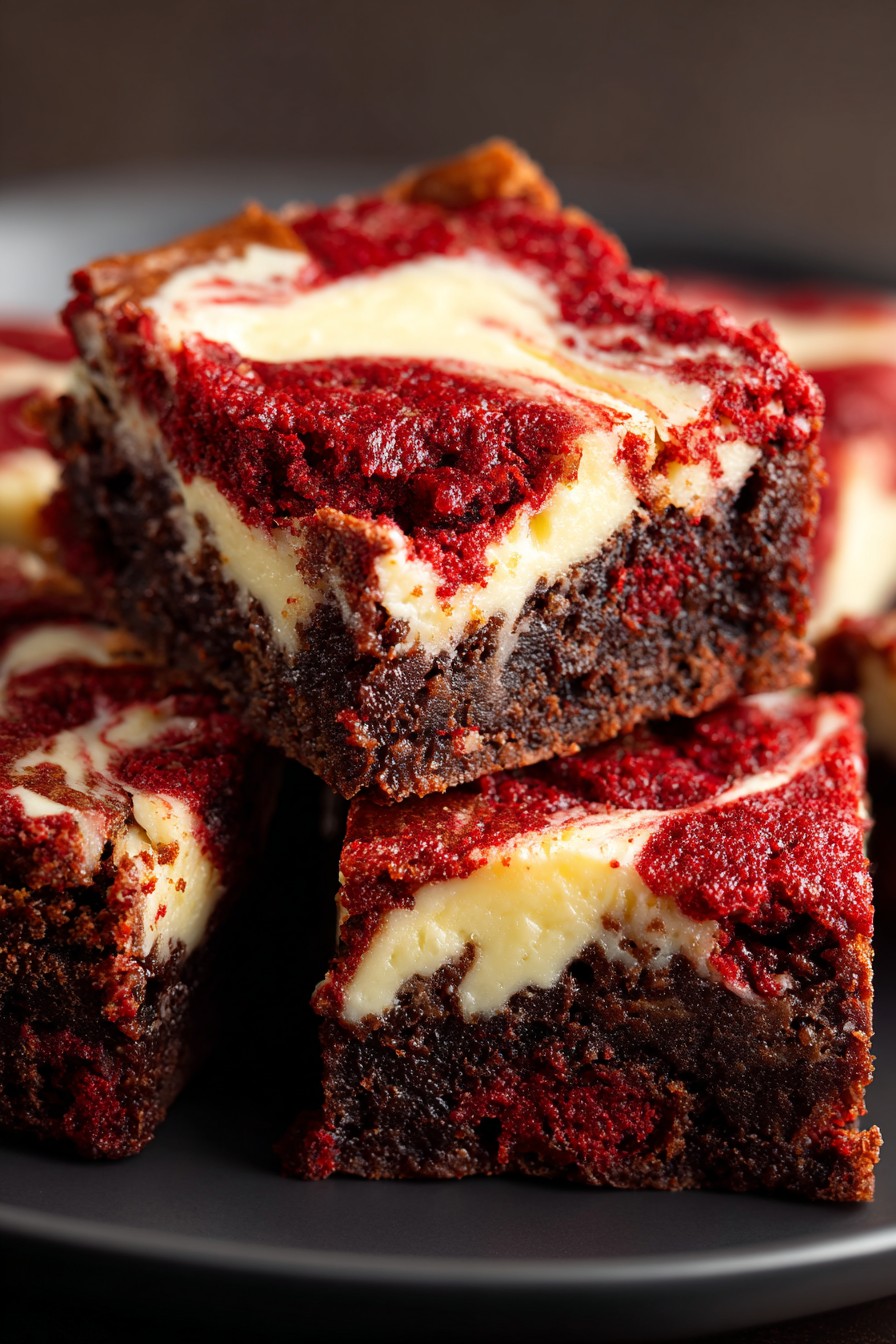
Every now and then, a recipe comes along that changes the game. These red velvet brownies are just that—moist, rich, and with that signature red velvet flavor, they’re a showstopper. Perfect for Valentine’s Day, birthdays, or any day you’re craving something sweet and a little extra.
Why This Recipe Works
- The combination of cocoa powder and buttermilk gives these brownies their classic red velvet taste and tender crumb.
- A touch of vinegar enhances the red color, making these brownies as beautiful as they are delicious.
- The cream cheese swirl adds a tangy contrast to the sweet, chocolatey base, elevating the flavor profile.
- Using both granulated and brown sugar ensures a perfect balance of sweetness and moisture.
- These brownies are baked at the right temperature to achieve a crispy top and a fudgy center.
Ingredients
- 1 cup unsalted butter, melted
- 2 cups granulated sugar
- 1/2 cup brown sugar, packed
- 4 large eggs
- 1 tsp vanilla extract
- 1 tbsp white vinegar
- 1/4 cup cocoa powder
- 2 tbsp red food coloring
- 1 1/2 cups all-purpose flour
- 1/2 tsp salt
- 8 oz cream cheese, softened
- 1/4 cup granulated sugar
- 1 large egg yolk
- 1/2 tsp vanilla extract
Equipment Needed
- 9×13 inch baking pan
- Parchment paper
- Mixing bowls
- Whisk
- Electric mixer
- Spatula
Instructions
Preheat and Prepare
Preheat your oven to 350°F. Line your baking pan with parchment paper, leaving an overhang on the sides for easy removal. This step is crucial for getting those perfect, clean-cut brownies.
Mix the Wet Ingredients
In a large bowl, whisk together the melted butter, granulated sugar, and brown sugar until well combined. Add the eggs one at a time, followed by the vanilla extract and white vinegar. The vinegar not only adds to the flavor but also helps in achieving that vibrant red color.
Add the Dry Ingredients
Sift in the cocoa powder, then add the red food coloring, stirring until the mixture is uniformly red. Gradually mix in the flour and salt until just combined. Overmixing can lead to tough brownies, so stop as soon as the flour is incorporated.
Prepare the Cream Cheese Swirl
In a separate bowl, beat the cream cheese until smooth. Add the sugar, egg yolk, and vanilla extract, mixing until creamy. This swirl is what sets these brownies apart, adding a luxurious texture and flavor.
Bake to Perfection
Pour the brownie batter into the prepared pan. Dollop the cream cheese mixture on top, then use a knife to swirl it into the batter. Bake for 25-30 minutes, or until a toothpick inserted into the center comes out with a few moist crumbs. Let cool before slicing.
Tips and Tricks
For the best results, make sure all your ingredients are at room temperature before starting. This ensures a smooth batter and even baking. If you’re short on time, you can microwave the butter to melt it quickly, but let it cool slightly before adding the sugars to prevent the eggs from cooking. When adding the food coloring, wear gloves to avoid staining your hands. For an extra glossy top, you can brush the baked brownies with a simple syrup made of equal parts sugar and water. Finally, for clean cuts, chill the brownies before slicing and wipe the knife between cuts.
Recipe Variations
- For a nutty twist, fold in 1 cup of chopped walnuts or pecans into the batter before baking.
- Swap the cream cheese swirl for a peanut butter swirl by mixing 1/2 cup peanut butter with 1/4 cup powdered sugar and 1 egg yolk.
- Add chocolate chips or white chocolate chips to the batter for an extra chocolatey experience.
- For a minty version, add 1 tsp peppermint extract to the batter and top with crushed candy canes after baking.
- Make them gluten-free by substituting the all-purpose flour with your favorite gluten-free flour blend.
Frequently Asked Questions
Can I use natural cocoa powder instead of Dutch-processed?
Yes, you can use natural cocoa powder, but keep in mind that Dutch-processed cocoa has a milder flavor and darker color, which might affect the final taste and appearance of your brownies slightly.
How do I store these brownies?
Store them in an airtight container at room temperature for up to 3 days or in the refrigerator for up to a week. They can also be frozen for up to 3 months.
Can I make these brownies without food coloring?
Absolutely! The food coloring is mainly for appearance. The brownies will still taste delicious without it, though they won’t have the classic red velvet color.
Summary
These red velvet brownies are a decadent twist on a classic, combining the rich flavors of red velvet cake with the fudgy texture of brownies. Perfect for any occasion, they’re sure to impress.