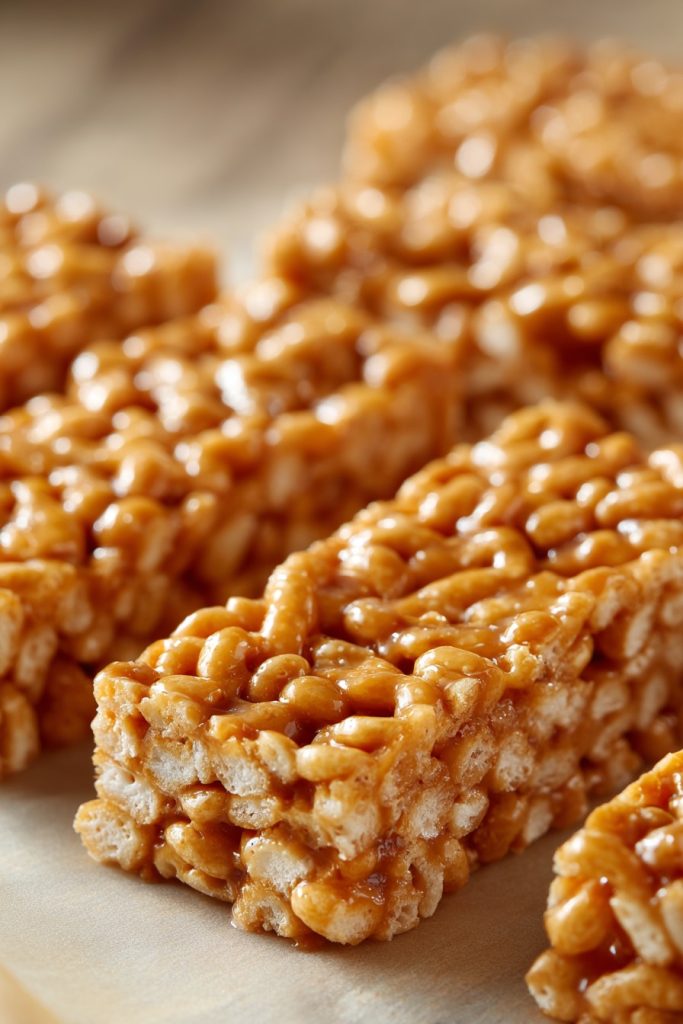
Oh, the joy of biting into a gooey, crunchy marshmallow cereal bar! Perfect for breakfast (we won’t judge), snack time, or dessert, these bars are a hit with kids and adults alike. Plus, they’re incredibly easy to make with just a few ingredients.
Why This Recipe Works
- Simple ingredients you probably already have in your pantry.
- Quick and easy to make, no baking required.
- Customizable with your favorite cereals and add-ins.
- Perfect for meal prep or last-minute treats.
- Kid-friendly and great for parties or gifts.
Ingredients
- 6 cups of your favorite cereal (like Rice Krispies or Chex)
- 4 tablespoons unsalted butter
- 10 ounces marshmallows (about 40 regular-sized)
- 1/4 teaspoon vanilla extract (optional)
- Pinch of salt
Equipment Needed
- Large microwave-safe bowl
- 9×13 inch baking pan
- Parchment paper or non-stick spray
- Spatula
Instructions

Step 1: Prepare Your Pan
Line your 9×13 inch baking pan with parchment paper or lightly spray it with non-stick spray. This ensures your bars will come out easily without sticking. Tip: Leaving some overhang on the sides of the parchment paper makes it easier to lift the bars out later.
Step 2: Melt the Butter and Marshmallows
In a large microwave-safe bowl, combine the butter and marshmallows. Microwave on high for 1 minute, then stir. Continue microwaving in 30-second intervals, stirring in between, until the mixture is smooth and fully melted. This usually takes about 2 minutes total. Tip: Adding a pinch of salt and vanilla extract at this stage enhances the flavor.
Step 3: Mix in the Cereal
Quickly add the cereal to the melted marshmallow mixture and stir until all the cereal is evenly coated. Work fast to prevent the marshmallow from hardening. Tip: If you’re adding any extras like chocolate chips or nuts, fold them in now.
Step 4: Press Into the Pan
Transfer the mixture to your prepared pan. Use a spatula or your hands (lightly greased) to press it down evenly. Apply firm pressure to ensure the bars hold together well.
Step 5: Let It Set
Allow the bars to cool at room temperature for at least 1 hour before cutting into squares. For faster setting, you can refrigerate them for 30 minutes.
Tips and Tricks
For the best texture, use fresh marshmallows as stale ones don’t melt as smoothly. If you prefer a softer bar, reduce the amount of cereal by 1 cup. For a crispier texture, let the bars sit out uncovered overnight. Experiment with different cereals for unique flavors and textures. Adding a drizzle of melted chocolate or peanut butter on top can elevate these bars to a whole new level of deliciousness.
Recipe Variations
- Chocolate Lovers: Mix in 1/2 cup of chocolate chips with the cereal.
- Peanut Butter Twist: Stir in 1/4 cup of peanut butter with the melted marshmallows.
- Fruity: Add 1/2 cup of dried fruit like raisins or cranberries.
- Nutty: Include 1/2 cup of your favorite nuts for added crunch.
- Seasonal: Use holiday-themed cereals or sprinkles for festive bars.
Frequently Asked Questions
Can I use mini marshmallows instead of regular ones?
Yes, mini marshmallows work just as well and may even melt faster. Use the same weight (10 ounces) for the recipe. The key is to ensure they’re fully melted and smooth before adding the cereal.
How long do these bars last?
Stored in an airtight container at room temperature, they’ll stay fresh for up to 3 days. If you prefer them softer, you can microwave a bar for a few seconds before eating.
Can I make these bars gluten-free?
Absolutely! Just ensure your cereal and any add-ins are gluten-free. Many brands offer gluten-free versions of popular cereals.
Summary
These marshmallow cereal bars are a quick, easy, and customizable treat that’s perfect for any occasion. With just a few ingredients and no baking required, they’re a foolproof recipe that everyone will love.