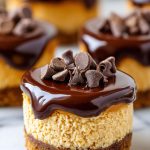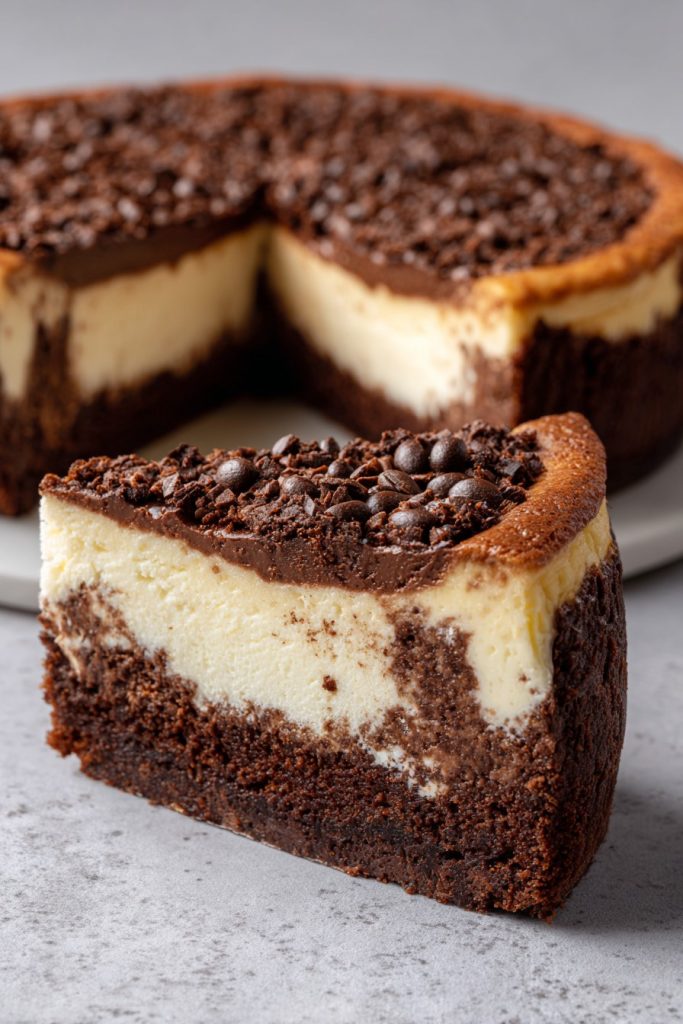
How about combining the rich flavors of coffee, brownie, and cheesecake into one show-stopping dessert? This recipe is a game-changer for anyone who loves a good dessert mashup. Perfect for special occasions or when you’re just in the mood to treat yourself.
Why This Recipe Works
- The combination of coffee and chocolate creates a depth of flavor that’s irresistible.
- Using a brownie base instead of a traditional crust adds a fudgy texture that contrasts beautifully with the creamy cheesecake.
- The recipe is designed to be foolproof, with clear instructions to ensure success every time.
Ingredients
- 1 cup all-purpose flour
- 1/2 cup unsweetened cocoa powder
- 1/2 teaspoon salt
- 1/2 cup unsalted butter, melted
- 1 cup granulated sugar
- 2 large eggs
- 1 teaspoon vanilla extract
- 1/4 cup strong brewed coffee, cooled
- 16 oz cream cheese, softened
- 1/2 cup sour cream
- 3/4 cup powdered sugar
- 1 tablespoon instant coffee granules
Equipment Needed
- 9-inch springform pan
- Mixing bowls
- Electric mixer
- Measuring cups and spoons
- Rubber spatula
Instructions
Preheat and Prepare
Preheat your oven to 350°F. Grease a 9-inch springform pan and line the bottom with parchment paper for easy removal later.
Make the Brownie Base
In a large bowl, whisk together the flour, cocoa powder, and salt. In another bowl, mix the melted butter and granulated sugar until well combined. Beat in the eggs one at a time, then stir in the vanilla extract and brewed coffee. Gradually add the dry ingredients to the wet, mixing until just combined. Pour the batter into the prepared pan and bake for 20 minutes.
Prepare the Cheesecake Layer
While the brownie base is baking, beat the cream cheese until smooth. Add the sour cream, powdered sugar, and instant coffee granules, beating until the mixture is creamy and free of lumps.
Assemble and Bake
Once the brownie base has baked, let it cool for 10 minutes. Then, pour the cheesecake mixture over the top, spreading it evenly. Return the pan to the oven and bake for another 30 minutes, or until the cheesecake is set but still slightly jiggly in the center.
Cool and Serve
Allow the cheesecake to cool completely in the pan on a wire rack. Then, refrigerate for at least 4 hours, or overnight, before serving. This patience will be rewarded with the perfect texture.
Tips and Tricks
For an extra coffee kick, you can dissolve the instant coffee granules in a tablespoon of hot water before adding them to the cheesecake mixture. This ensures even distribution of the coffee flavor. Also, make sure all your ingredients, especially the cream cheese and eggs, are at room temperature to avoid lumps in your cheesecake. Lastly, running a knife around the edge of the cheesecake before removing the springform pan sides can help prevent cracks.
Recipe Variations
- Add a layer of chocolate ganache on top for an extra chocolatey experience.
- Mix in some chopped nuts or chocolate chips into the brownie batter for added texture.
- For a mocha twist, add a tablespoon of cocoa powder to the cheesecake mixture.
Frequently Asked Questions
Can I make this recipe without coffee?
Absolutely! If you’re not a fan of coffee, you can simply omit the brewed coffee and instant coffee granules. The dessert will still be delicious with just the chocolate and cheesecake flavors.
How do I know when the cheesecake is done baking?
The cheesecake is done when the edges are set but the center still has a slight jiggle to it. It will continue to set as it cools, so don’t overbake it.
Can I freeze this cheesecake?
Yes, this cheesecake freezes well. Just wrap it tightly in plastic wrap and then in foil. Thaw in the refrigerator overnight before serving.
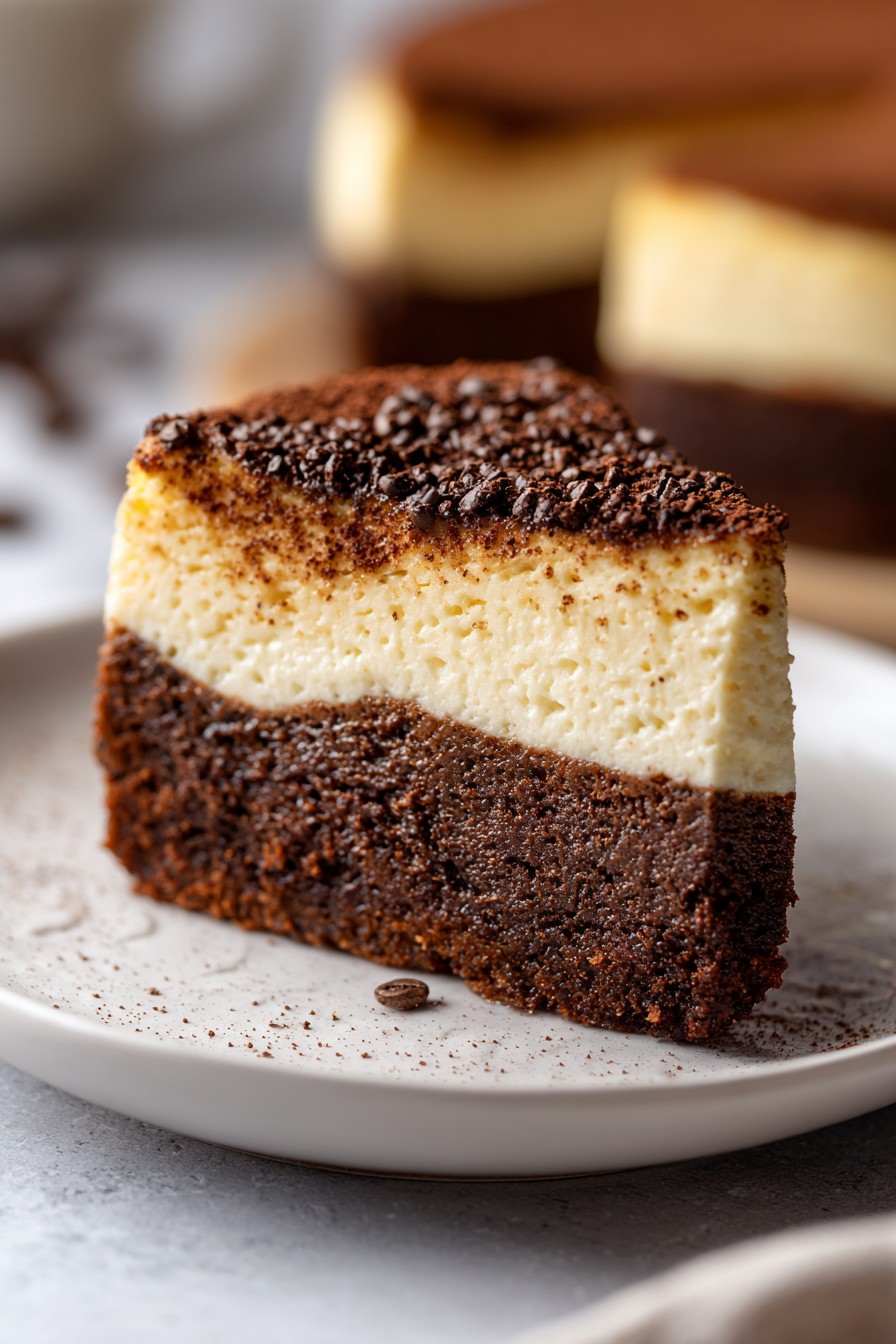
Summary
This Coffee Brownie Cheesecake is the ultimate dessert for coffee and chocolate lovers. With its fudgy brownie base and creamy coffee-infused cheesecake layer, it’s sure to impress. Follow the tips and variations to make it your own.