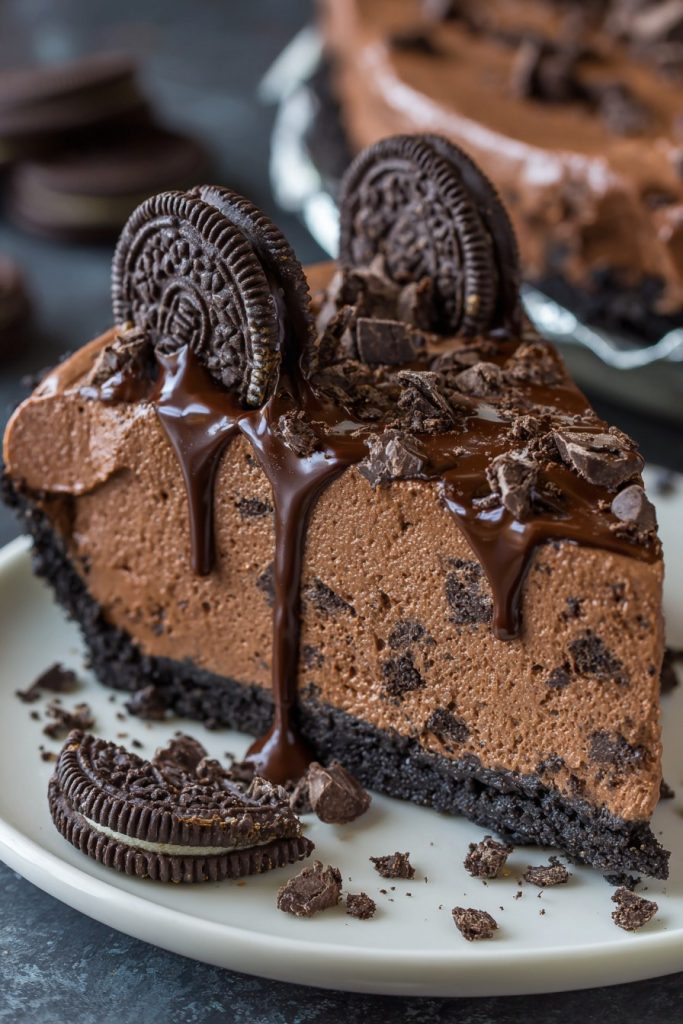
Oh my, are you ready for a dessert that combines the crunch of Oreos with the smoothness of chocolate? This no-bake chocolate Oreo pie is your ticket to dessert heaven, and it’s so easy to make, you’ll be whipping it up on repeat.
Why This Recipe Works
- No baking required, making it perfect for hot summer days or when you’re short on time.
- The combination of crunchy Oreo crust and creamy chocolate filling is irresistible.
- It’s versatile; you can customize the toppings to suit your taste.
- Perfect for making ahead, as it needs time to set in the fridge.
- Uses simple ingredients that are easy to find at any grocery store.
Ingredients
- 24 Oreo cookies (for the crust)
- 1/4 cup unsalted butter, melted (for the crust)
- 1 1/2 cups heavy cream (for the filling)
- 8 oz semi-sweet chocolate, chopped (for the filling)
- 1/4 cup powdered sugar (for the filling)
- 1 tsp vanilla extract (for the filling)
- Additional Oreo cookies for garnish (optional)
Equipment Needed
- 9-inch pie dish
- Food processor or zip-top bag and rolling pin
- Mixing bowls
- Whisk or electric mixer
- Saucepan
Instructions
Step 1: Make the Oreo Crust
Start by crushing 24 Oreo cookies into fine crumbs using a food processor or a zip-top bag and rolling pin. Mix the crumbs with melted butter until well combined. Press the mixture firmly into the bottom and up the sides of a 9-inch pie dish. Chill in the refrigerator for at least 30 minutes to set. Tip: For an extra firm crust, you can bake it at 350°F for 10 minutes, but it’s not necessary.
Step 2: Prepare the Chocolate Filling
In a saucepan over low heat, warm the heavy cream until it’s just about to simmer. Remove from heat and add the chopped chocolate, letting it sit for a minute to melt. Whisk until smooth, then stir in the powdered sugar and vanilla extract. Let the mixture cool slightly before proceeding to the next step.
Step 3: Combine and Chill
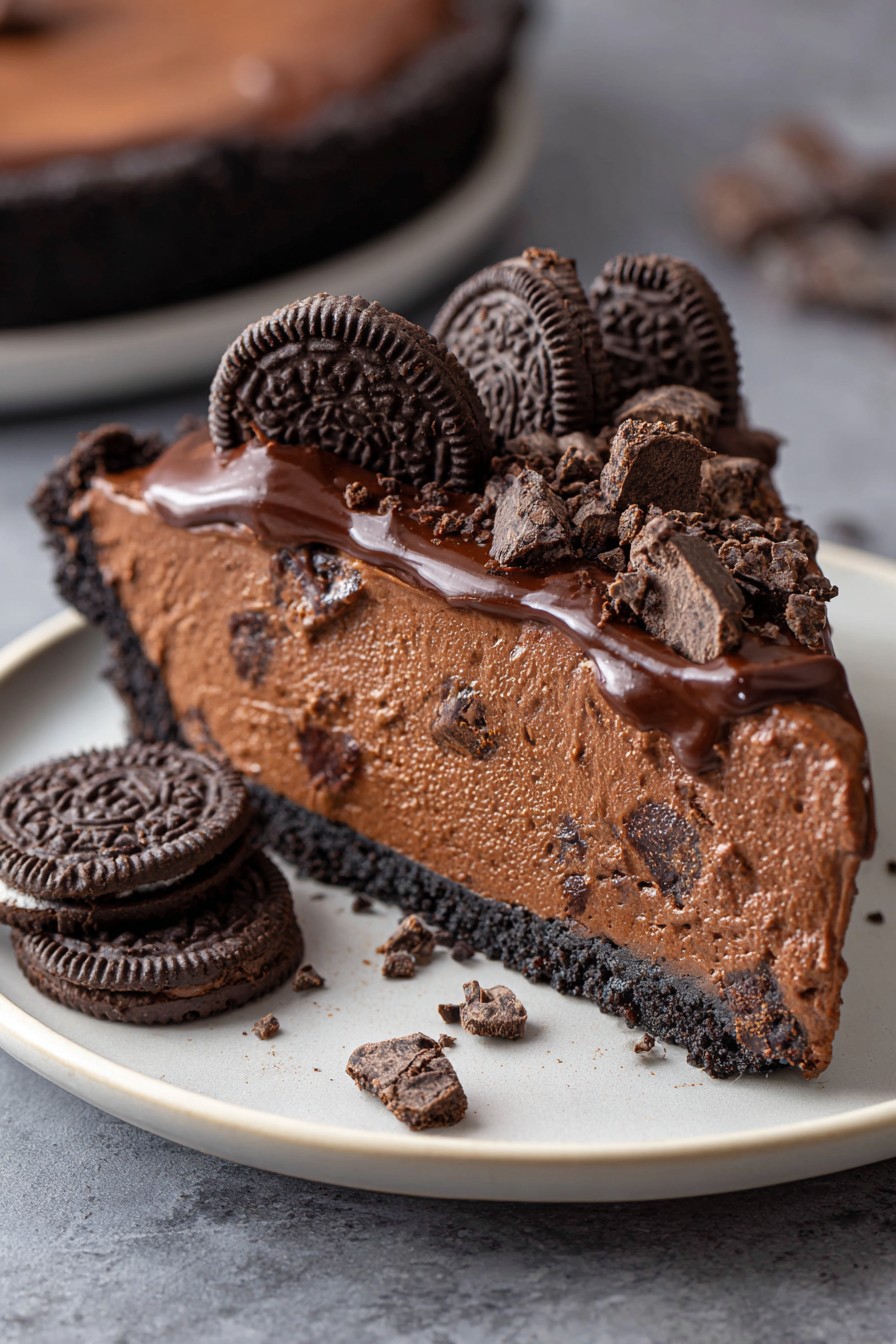
Pour the chocolate filling over the chilled Oreo crust, smoothing the top with a spatula. Garnish with additional Oreo cookies if desired. Refrigerate the pie for at least 4 hours, or overnight, until set. Tip: For a quicker set, you can place the pie in the freezer for 2 hours.
Tips and Tricks
For those looking to elevate their chocolate Oreo pie, consider these advanced tips. First, toasting the Oreo crumbs before mixing with butter can add a deeper flavor to the crust. Second, incorporating a layer of whipped cream between the crust and chocolate filling can add a light, airy texture contrast. Lastly, a sprinkle of sea salt on top before serving can enhance the chocolate’s richness.
Recipe Variations
- Mint Chocolate Twist: Add a few drops of peppermint extract to the filling for a refreshing twist.
- Peanut Butter Lover’s: Swirl peanut butter into the chocolate filling before chilling.
- Mocha Version: Dissolve instant coffee into the warm cream for a coffee-flavored pie.
- White Chocolate Raspberry: Use white chocolate for the filling and top with fresh raspberries.
Frequently Asked Questions
Can I use milk chocolate instead of semi-sweet?
Absolutely! Milk chocolate will make the pie sweeter, which might be perfect for those with a sweet tooth. Just keep in mind that the texture might be slightly softer due to the higher sugar content.
How long can I store the pie in the fridge?
This pie can be stored in the refrigerator for up to 3 days. Make sure to cover it with plastic wrap or store in an airtight container to prevent it from absorbing other flavors.
Can I make this pie gluten-free?
Yes, simply use gluten-free Oreo cookies or another gluten-free chocolate sandwich cookie for the crust. The rest of the ingredients are naturally gluten-free.
Summary
This no-bake chocolate Oreo pie is a crowd-pleaser that’s easy to make and even easier to love. With its crunchy Oreo crust and rich chocolate filling, it’s the perfect dessert for any occasion.