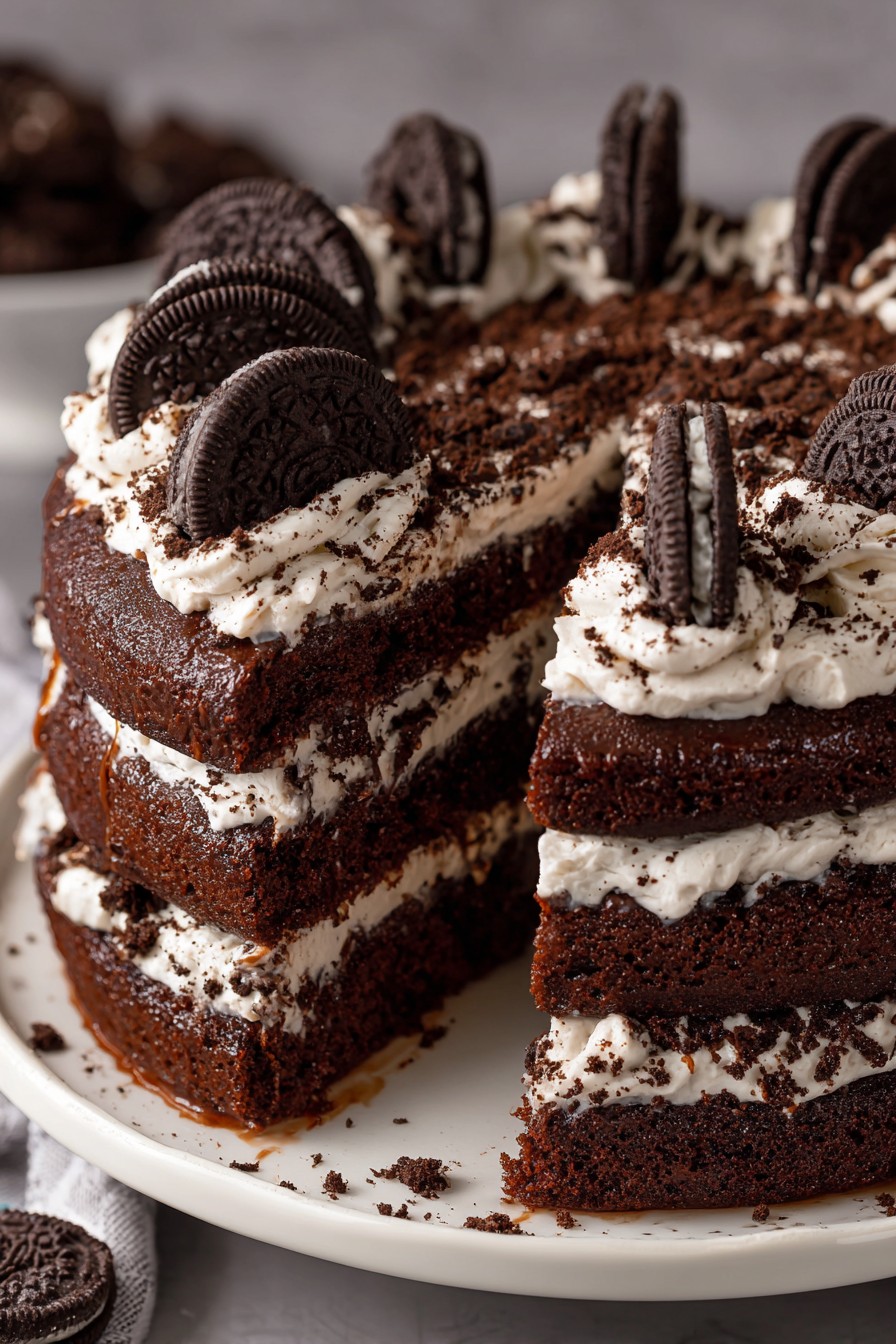
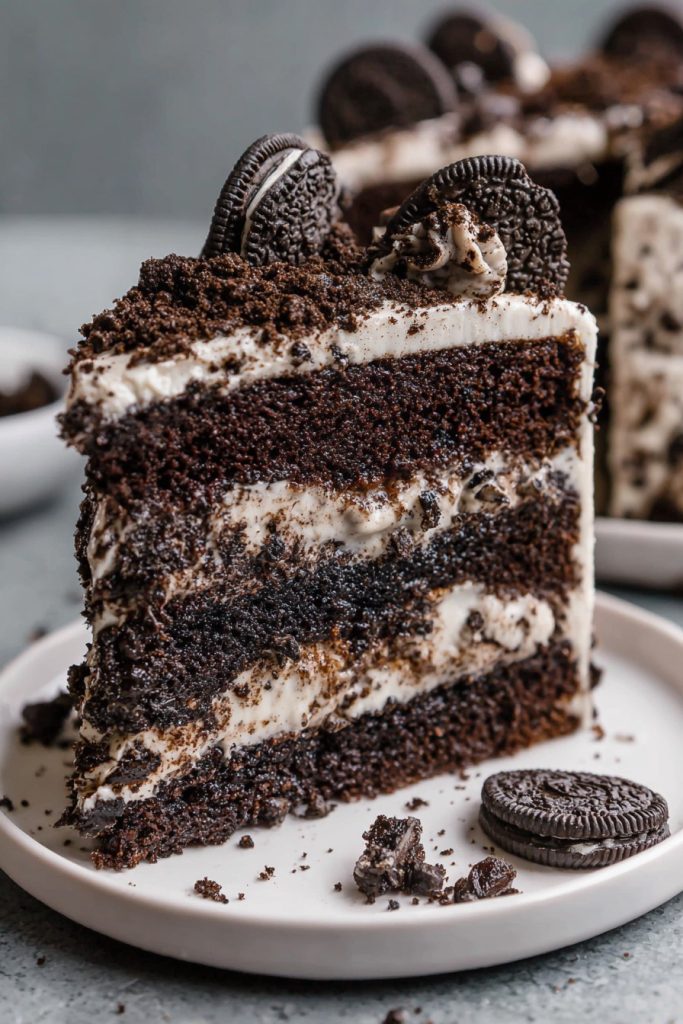
Get ready to dive into the ultimate chocolate Oreo cake that combines rich chocolate layers with crunchy Oreo bits and creamy frosting. This cake is not just a dessert; it’s an experience.
Why This Recipe Works
- The combination of moist chocolate cake and crunchy Oreo pieces creates a perfect texture contrast.
- Cream cheese frosting adds a tangy balance to the sweet chocolate, making each bite irresistible.
- Simple ingredients come together to create a show-stopping dessert that’s easier to make than it looks.
Ingredients
- 2 cups all-purpose flour
- 1 3/4 cups granulated sugar
- 3/4 cup unsweetened cocoa powder
- 2 tsp baking soda
- 1 tsp baking powder
- 1 tsp salt
- 2 large eggs
- 1 cup buttermilk
- 1 cup strong black coffee, cooled
- 1/2 cup vegetable oil
- 2 tsp vanilla extract
- 1 1/2 cups crushed Oreos
- 8 oz cream cheese, softened
- 1/2 cup unsalted butter, softened
- 4 cups powdered sugar
- 1 tsp vanilla extract
Equipment Needed
- 9-inch round cake pans (2)
- Mixing bowls
- Electric mixer
- Whisk
- Spatula
- Cooling rack
Instructions

Preheat and Prepare
Preheat your oven to 350°F. Grease and flour two 9-inch round cake pans. In a large bowl, whisk together flour, sugar, cocoa powder, baking soda, baking powder, and salt. This ensures your dry ingredients are perfectly combined for a uniform cake texture.
Mix Wet Ingredients
In another bowl, beat the eggs, buttermilk, coffee, oil, and vanilla extract until smooth. Gradually add the wet ingredients to the dry ingredients, mixing until just combined. Overmixing can lead to a dense cake, so stop as soon as you see no dry spots.
Bake to Perfection
Divide the batter evenly between the prepared pans. Bake for 30-35 minutes, or until a toothpick inserted into the center comes out clean. Let the cakes cool in the pans for 10 minutes, then transfer to a cooling rack to cool completely.
Prepare the Frosting
While the cakes cool, beat the cream cheese and butter until smooth. Gradually add powdered sugar and vanilla extract, beating until fluffy. Fold in 1 cup of crushed Oreos for that signature crunch.
Assemble the Cake
Place one cake layer on your serving plate. Spread a thick layer of frosting over the top. Sprinkle with some crushed Oreos. Top with the second cake layer and frost the top and sides. Garnish with remaining Oreos for a stunning finish.
Tips and Tricks
For an even more decadent cake, try soaking the cake layers with a simple syrup made from equal parts water and sugar before frosting. This adds moisture and sweetness. If you’re short on time, use store-bought chocolate cake mix, but don’t skip the homemade frosting—it’s a game-changer. For a smoother frosting, sift the powdered sugar before adding it to the cream cheese and butter.
Recipe Variations
- Add a layer of chocolate ganache between the cake layers for extra richness.
- Substitute the cream cheese frosting with whipped chocolate ganache for a different flavor profile.
- Mix mini chocolate chips into the batter for added chocolatey goodness.
- Use different Oreo flavors, like mint or peanut butter, to customize the cake.
Frequently Asked Questions
Can I make this cake ahead of time?
Absolutely! This cake actually tastes better the next day as the flavors have more time to meld. Just store it in an airtight container in the refrigerator and bring it to room temperature before serving.
Can I freeze the cake?
Yes, you can freeze the unfrosted cake layers for up to 3 months. Wrap them tightly in plastic wrap and then aluminum foil. Thaw overnight in the refrigerator before frosting and serving.
How do I prevent my cake from sticking to the pan?
Make sure to grease and flour your pans thoroughly. You can also line the bottom of the pans with parchment paper for extra insurance against sticking.
Summary
This chocolate Oreo cake is a dream come true for any dessert lover. With its moist chocolate layers, crunchy Oreo bits, and creamy frosting, it’s sure to be a hit at any gathering. Follow our tips and variations to make it your own!


