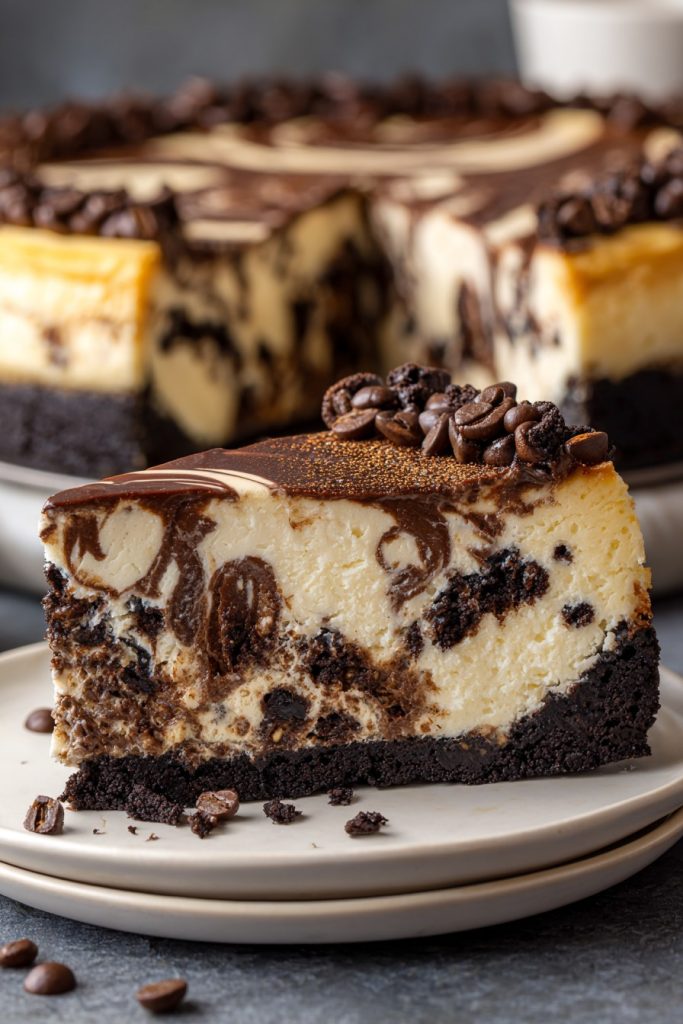
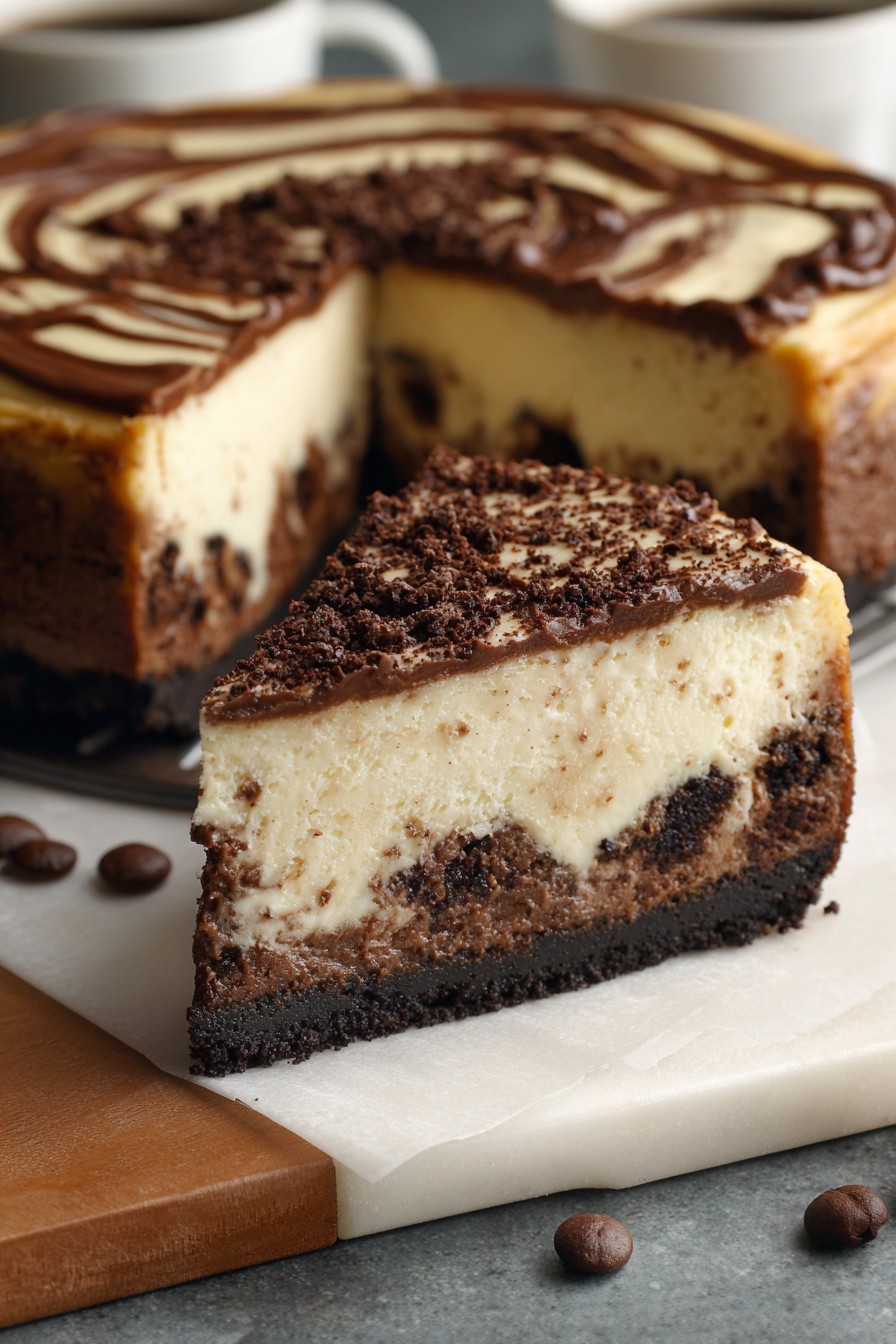
So, you’re craving something that combines the rich, bold flavors of coffee with the creamy, dreamy texture of cheesecake, all swirled together with a luscious fudge? Well, buckle up, buttercup, because this Cappuccino Fudge Cheesecake is about to take you on a flavor ride you won’t forget.
Why This Recipe Works
- The combination of cappuccino and fudge creates a perfect balance of bitterness and sweetness.
- Using a water bath method ensures your cheesecake comes out creamy and crack-free.
- The Oreo crust adds a delightful crunch that contrasts beautifully with the smooth filling.
- It’s a showstopper dessert that’s surprisingly easy to make.
Ingredients
- 2 cups Oreo cookie crumbs
- 1/2 cup melted butter
- 3 (8 oz) packages cream cheese, softened
- 1 cup sugar
- 3 eggs
- 1 cup sour cream
- 1/4 cup flour
- 2 tbsp instant coffee granules
- 1 tsp vanilla extract
- 1 cup hot fudge topping, warmed
Equipment Needed
- 9-inch springform pan
- Mixing bowls
- Electric mixer
- Measuring cups and spoons
- Aluminum foil
- Roasting pan (for water bath)
Instructions
Step 1: Prep the Crust
Start by preheating your oven to 325°F. Mix the Oreo crumbs with melted butter until well combined. Press the mixture firmly into the bottom of your springform pan. Bake for 10 minutes, then let it cool. Tip: Use the bottom of a glass to press the crumbs evenly.
Step 2: Make the Filling
Beat the cream cheese and sugar until smooth. Add eggs one at a time, then mix in sour cream, flour, coffee granules, and vanilla. Pour half the batter over the crust. Dollop with half the fudge topping and swirl with a knife. Repeat with remaining batter and fudge. Tip: Don’t overmix the swirls or you’ll lose the marbled effect.
Step 3: Bake to Perfection
Wrap the pan in aluminum foil and place in a roasting pan. Fill the roasting pan with hot water until halfway up the sides of the springform pan. Bake for 1 hour and 10 minutes, or until the center is almost set. Turn off the oven and let the cheesecake sit inside for another hour. Tip: This gradual cooling prevents cracks.
Step 4: Chill Out
Remove the cheesecake from the water bath and cool on a wire rack for 30 minutes. Then refrigerate for at least 4 hours, preferably overnight. This patience-testing step is crucial for the perfect texture.
Step 5: Serve and Swoon
Run a knife around the edge of the pan before releasing the springform. Slice with a hot, dry knife for clean cuts. Serve with a dusting of cocoa powder or more fudge if you’re feeling extra.
Tips and Tricks
For those looking to elevate their cheesecake game, consider these pro tips. Room temperature ingredients are non-negotiable for a smooth batter. If you’re short on time, you can skip the water bath, but don’t skip the slow cooling. For a deeper coffee flavor, use espresso powder instead of instant coffee. And always, always use full-fat cream cheese—this is no time for dieting.
Recipe Variations
- Swap the Oreo crust for a graham cracker or chocolate wafer crust.
- Add a layer of caramel between the crust and filling for a caramel macchiato twist.
- Mix in mini chocolate chips for added texture.
- Top with whipped cream and chocolate shavings for extra decadence.
- Use white chocolate fudge for a different flavor profile.
Frequently Asked Questions
Q: Can I make this cheesecake without a springform pan?
A: While a springform pan is ideal for easy removal, you can use a regular cake pan lined with parchment paper. Just be extra careful when removing the cheesecake.
Q: How do I prevent my cheesecake from cracking?
A: The water bath and slow cooling are your best friends here. Also, avoid overmixing the batter, which can incorporate too much air.
Q: Can I freeze this cheesecake?
A: Absolutely! Wrap it tightly in plastic wrap and foil, then freeze for up to a month. Thaw in the fridge overnight before serving.
Summary
This Cappuccino Fudge Cheesecake is a masterpiece of flavors and textures, perfect for impressing guests or treating yourself. With a few simple tips and tricks, you’ll achieve bakery-quality results right at home.