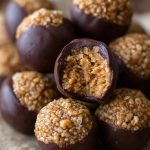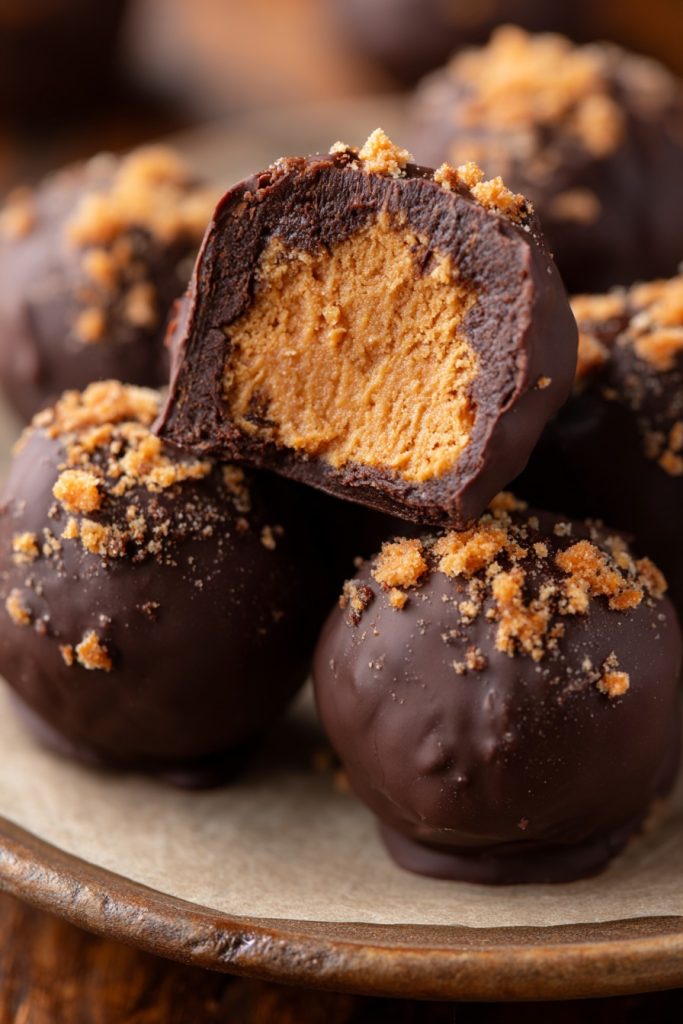
Craving something sweet, crunchy, and utterly irresistible? These Butterfinger balls are your ticket to dessert heaven. Combining the iconic candy’s flavor with a no-bake, bite-sized form, they’re perfect for parties, gifts, or a midnight snack.
Why This Recipe Works
- No baking required, making it a quick and easy treat.
- The combination of peanut butter and crushed Butterfinger bars creates a perfect balance of sweet and salty.
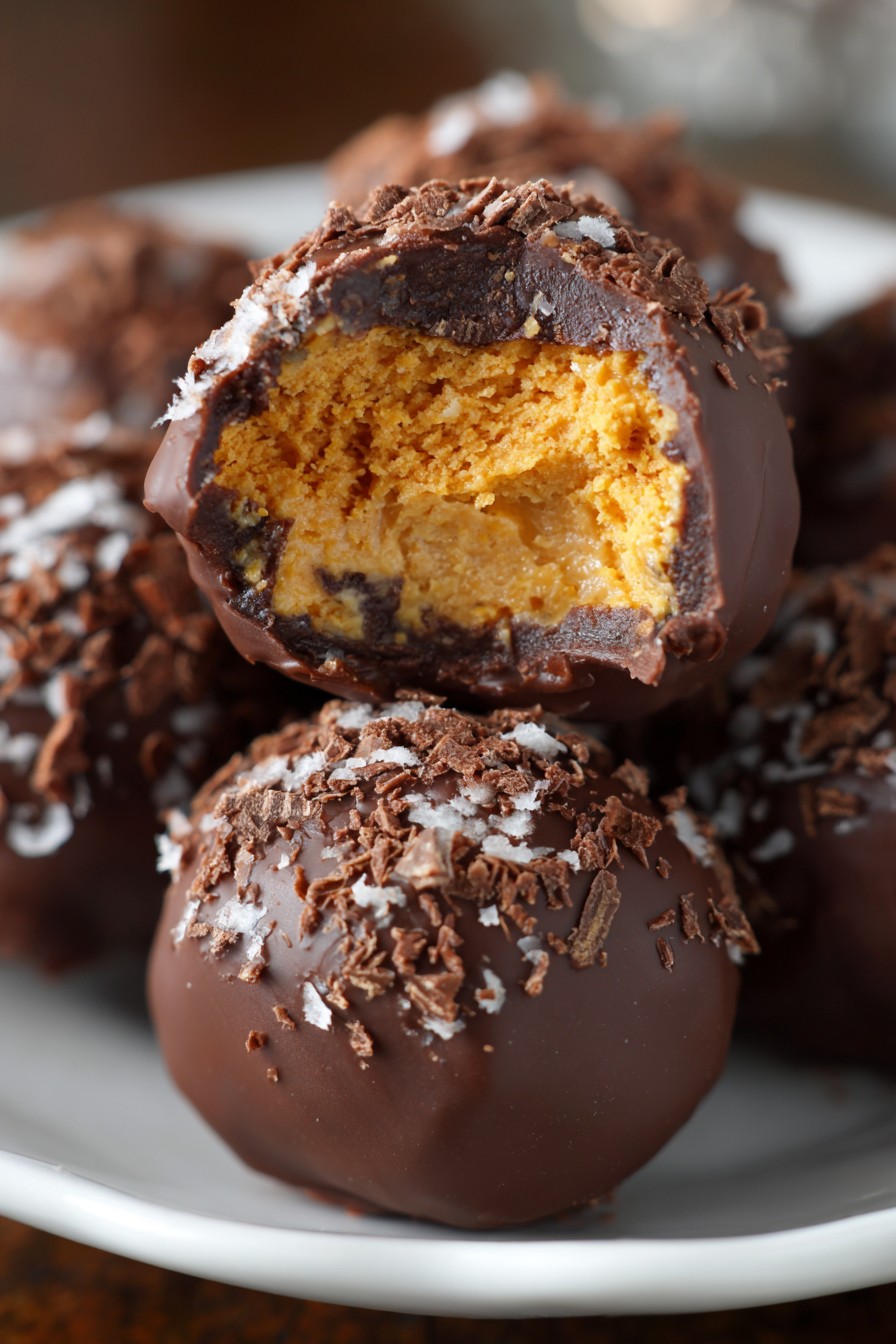
- Dipping them in chocolate not only adds a layer of decadence but also helps keep the balls firm and easy to handle.
- They’re customizable; roll them in nuts, sprinkles, or more crushed Butterfinger for extra texture and flavor.
- Perfect for making ahead, as they freeze beautifully for up to a month.
Ingredients
- 1 cup creamy peanut butter
- 1/2 cup powdered sugar
- 1/2 cup crushed Butterfinger bars (about 4 full-size bars)
- 1 tsp vanilla extract
- 1 cup semi-sweet chocolate chips
- 1 tbsp coconut oil
Equipment Needed
- Mixing bowl
- Measuring cups and spoons
- Food processor or rolling pin (for crushing Butterfinger bars)
- Baking sheet
- Parchment paper
- Microwave-safe bowl or double boiler
- Toothpicks or fork (for dipping)
Instructions
Step 1: Prepare the Butterfinger Mixture
In a large mixing bowl, combine the creamy peanut butter, powdered sugar, crushed Butterfinger bars, and vanilla extract. Mix until all ingredients are well incorporated and the mixture holds together when pressed. If the mixture is too sticky, add a bit more powdered sugar. Tip: For easier mixing, let the peanut butter sit at room temperature for about 30 minutes before starting.
Step 2: Form the Balls
Using your hands, roll the mixture into 1-inch balls and place them on a parchment-lined baking sheet. If the mixture sticks to your hands, lightly dampen them with water. Once all balls are formed, freeze them for at least 30 minutes to firm up. This step is crucial for easy dipping later.
Step 3: Melt the Chocolate
In a microwave-safe bowl or using a double boiler, melt the semi-sweet chocolate chips with the coconut oil. If using a microwave, heat in 30-second intervals, stirring in between, until smooth. The coconut oil helps thin the chocolate for easier dipping and adds a slight shine. Tip: Avoid overheating the chocolate to prevent it from seizing.
Step 4: Dip the Balls in Chocolate
Using a toothpick or fork, dip each frozen Butterfinger ball into the melted chocolate, ensuring it’s fully coated. Allow excess chocolate to drip off before placing it back on the parchment paper. For a decorative touch, drizzle any remaining chocolate over the tops or sprinkle with additional crushed Butterfinger before the chocolate sets.
Step 5: Let the Chocolate Set
Allow the chocolate-coated balls to set at room temperature or refrigerate for about 15 minutes until the chocolate is firm. Once set, they’re ready to serve or store. Tip: For the best texture, let them come to room temperature for about 10 minutes before serving.
Tips and Tricks
For those looking to elevate their Butterfinger balls, consider these advanced tips. First, toasting the peanut butter before mixing can deepen the flavor profile. Simply spread it on a baking sheet and bake at 350°F for about 5 minutes, stirring once. Second, for a smoother exterior, temper the chocolate instead of simply melting it. This involves carefully heating and cooling the chocolate to specific temperatures, ensuring a shiny, snap-worthy finish. Lastly, experiment with different coatings; crushed peanuts, toffee bits, or even a sprinkle of sea salt can add an unexpected twist.
Recipe Variations
- Swap peanut butter for almond or cashew butter for a different nutty flavor.
- Use white or dark chocolate instead of semi-sweet for coating to vary the sweetness level.
- Add a pinch of cinnamon or espresso powder to the peanut butter mixture for a subtle spice or coffee kick.
- For a gluten-free version, ensure all ingredients, especially the Butterfinger bars, are certified gluten-free.
- Incorporate mini chocolate chips into the peanut butter mixture for an extra chocolatey bite.
Frequently Asked Questions
Can I use natural peanut butter?
Yes, but the texture may vary. Natural peanut butter is often more oily, which can make the mixture too soft. If using natural peanut butter, you may need to add more powdered sugar to achieve the right consistency. Also, consider refrigerating the mixture for about an hour before forming the balls to make handling easier.
How long do these keep?
Stored in an airtight container in the refrigerator, Butterfinger balls will keep for up to two weeks. For longer storage, freeze them for up to a month. Just be sure to separate layers with parchment paper to prevent sticking. Thaw in the refrigerator overnight before serving.
Can I make these without a food processor?
Absolutely! Place the Butterfinger bars in a zip-top bag and crush them with a rolling pin or the bottom of a heavy pan. This method allows for more control over the size of the crumbs, whether you prefer a finer texture or larger chunks for extra crunch.
Summary
These Butterfinger balls are a no-bake, easy-to-make treat that combines the beloved flavors of peanut butter and Butterfinger in a bite-sized form. Perfect for any occasion, they’re sure to be a hit with both kids and adults alike.